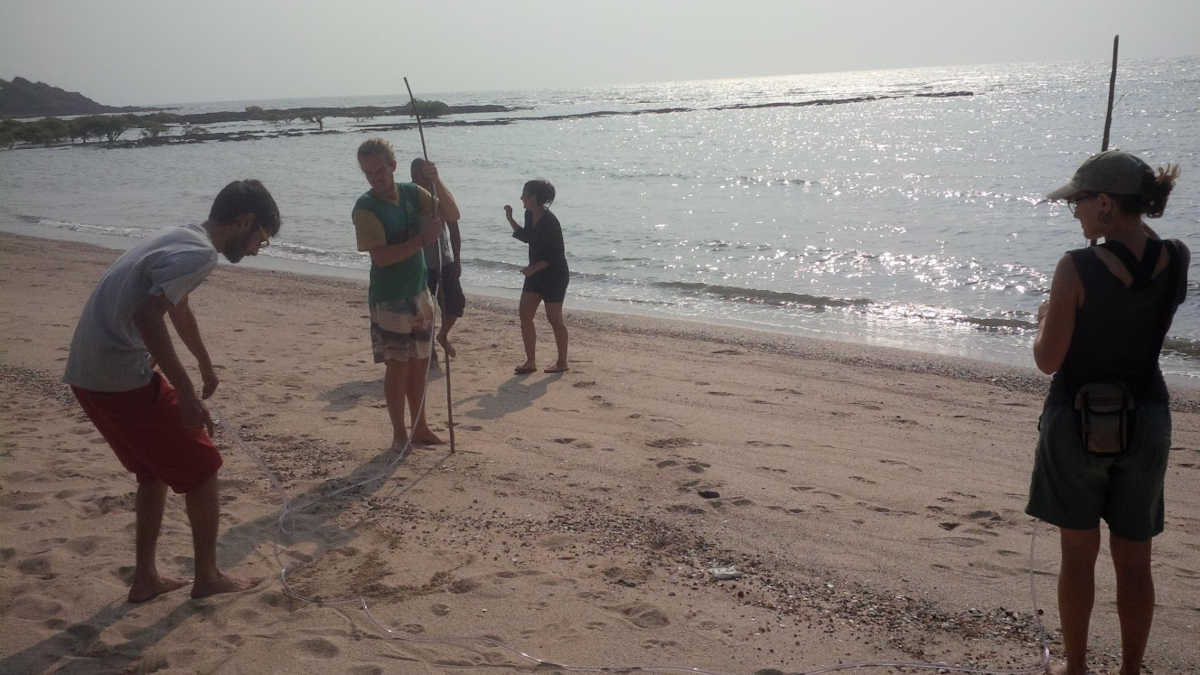
A bunyip, also called a water level, is a simple but very accurate tool used to measure level ground across distance. It works on the principle that water always settles at the same level in connected tubes.
Bunyips are useful for:
- Mapping land contours
- Planning drainage
- Designing swales and terraces
- Setting out building levels
This guide explains how to build two simple bunyip designs:
- Bamboo or round wood bunyip
- Squared timber bunyip with millimetre markings
Both designs use a clear tube filled with water to show the level between two points.
Video Demonstration
A full demonstration video will be added soon showing how to build and use a bunyip in the field.
How a Bunyip Works
A bunyip works using the principle of communicating vessels. When a tube filled with water is open at both ends, the water level will always settle at exactly the same height in both ends.
By comparing the water height against marks on each staff, you can determine whether two points are level or measure the height difference between them.
Materials Needed
- Clear flexible hose or tubing (10–20 metres recommended)
- Two vertical staffs or sticks
- Cable ties, tape, or clamps
- Rubber bands or pieces of string
- Water
- Funnel or bottle for filling
A shorter tube can work, but 10–20 metres is much more practical when mapping land.
Natural Water Colouring
Clear water can be difficult to see in tubing. Instead of using food colouring, natural options work well:
- Old tea bags
- Beetroot skins
These colour the water enough to make the level easier to see.
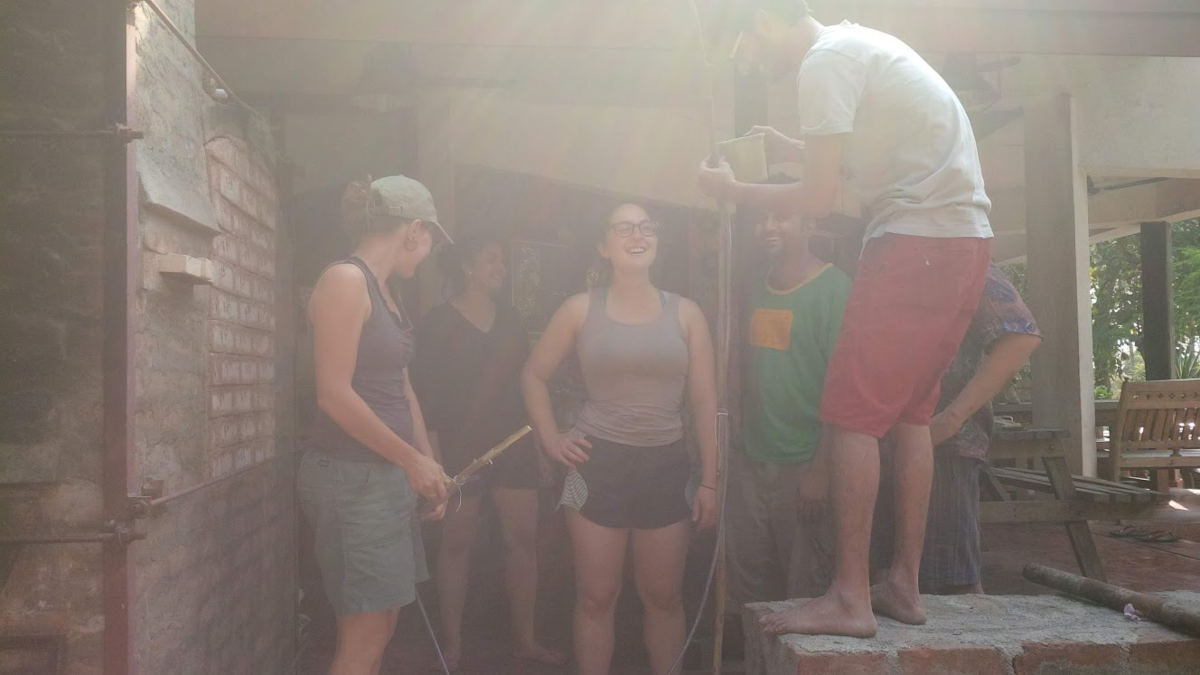
Style 1: Bamboo or Round Wood Bunyip
This is the simplest and quickest bunyip to build.
Materials
- Two straight pieces of bamboo or round wood (~1.5 m long)
- Clear tubing (10–20 m)
- Cable ties or tape
- Rubber band or string (movable level marker)
Construction Steps
1. Prepare the Sticks
Select two straight pieces of bamboo or round timber approximately 1.5 metres long. This height makes the water level easy to read while standing.
2. Attach the Clear Tube
Attach one end of the clear tube vertically to each stick. The tube should run straight up the stick so the water level is clearly visible.
Secure it using:
- Cable ties
- Tape
- Clamps
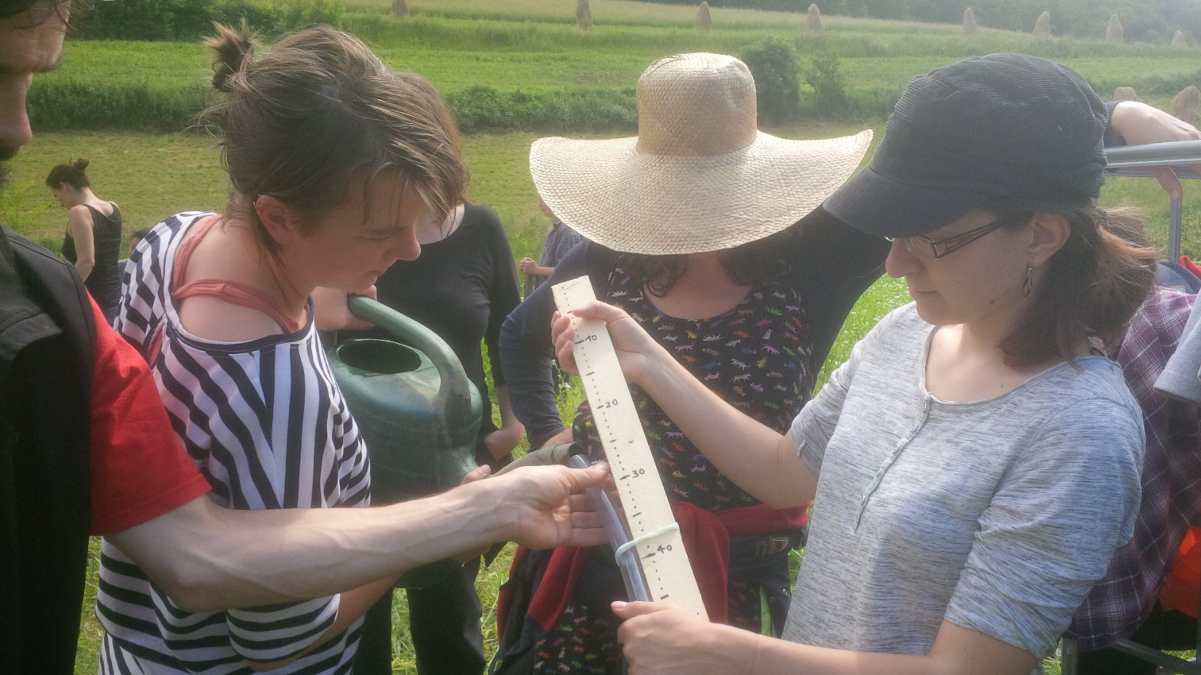
3. Add a Movable Reference Marker
Instead of drawing a permanent mark on the stick, place a rubber band or piece of string around the tube.
This acts as a movable reference marker for the water level.
A movable marker is useful because:
- Water can slowly evaporate
- A small amount of water can spill while walking
- The water level may change if one staff is pushed into the ground
Using a rubber band allows the reference level to be adjusted easily whenever needed.
4. Fill the Tube
Fill the tubing with coloured water using a funnel.
Helpful tips:
- Use tea or beetroot skins to colour the water
- Remove all air bubbles
- Ensure both ends have a visible water level
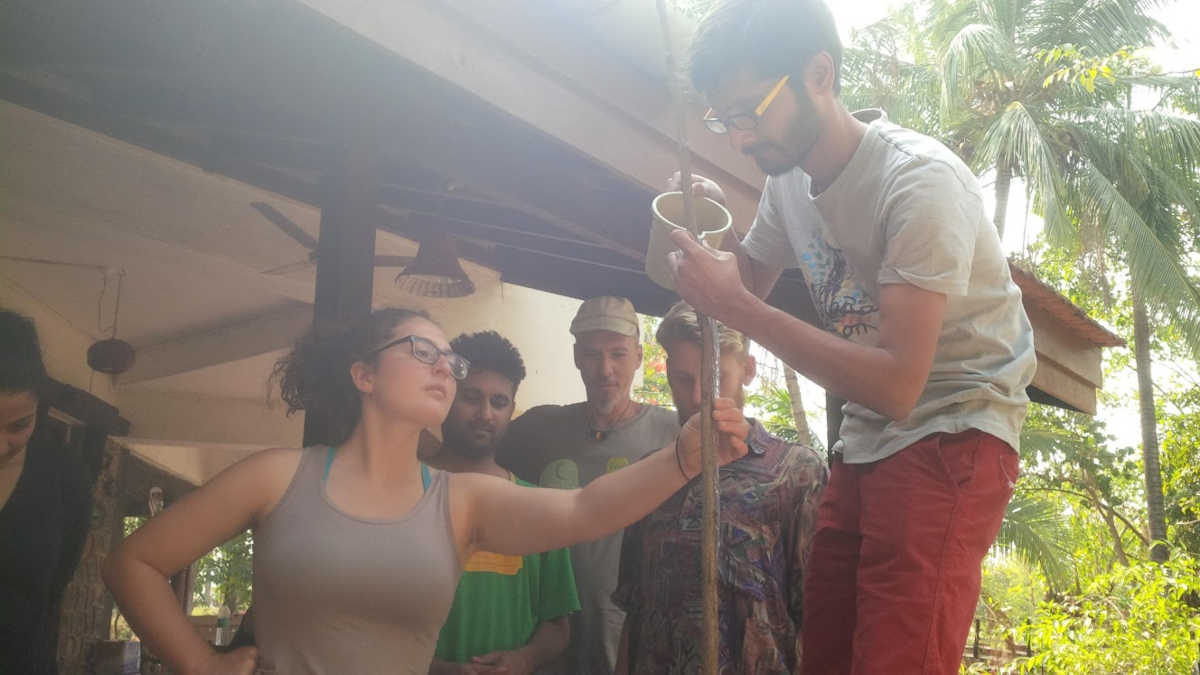
Style 2: Squared Timber Bunyip with Measurement Markings
This version allows more precise readings and is useful for detailed land mapping.
Materials
- Two timber pieces 44 mm × 18 mm × 1.5 m
- Clear tubing (10–20 m)
- Permanent marker
- Tape measure
- Cable ties or clamps
- Rubber band or string (movable level marker)
Construction Steps
1. Prepare the Timber Staffs
Cut two pieces of timber measuring:
44 mm × 18 mm × 1.5 metres
These act as measuring staffs.
2. Add Measurement Markings
Using a tape measure and permanent marker, mark measurement lines along the timber.
- Mark every 1 mm
- Label every 10 mm (1 cm)
This allows accurate readings when mapping land contours.
3. Attach the Clear Tube
Attach the tubing vertically along each timber staff.
Ensure:
- The tube runs straight
- The water level aligns with the measurement scale
4. Add the Movable Level Marker
Place a rubber band or string around the tube to mark the current water level.
This marker can be moved whenever needed if the water level changes slightly.
5. Fill the Tube with Water
Fill the tubing with coloured water and remove any air bubbles.
Working Alone with a Bunyip
Many people say a bunyip requires two people, but it can easily be used by one person.
A simple method is:
- Stake one staff into the ground at the reference point.
- Walk to the second location with the other staff.
- Use the rubber band marker to align the water level.
- Move between points to record measurements.
This makes it possible to map land levels by yourself.
Advantages of a Bunyip
A bunyip is especially useful for mapping larger areas of land.
Unlike an A-frame level, the tubing can run around obstacles such as:
- Trees
- Bushes
- Rocks
- Buildings
This makes it extremely practical when working in natural landscapes.
Conclusion
The bunyip remains one of the simplest and most reliable tools for measuring land levels. With just tubing, two sticks and water, you can build an accurate tool for mapping contours, planning drainage and designing earthworks.